

I know there are a lot of hobby photographers and enthusiastics who follow me, and are aolways asking for tips on how to improve their photos. So, here is the first in my series of beginner tips, starting with action. Action shots are so much fun to photograph, but can be incredibly challenging. So, I have put together some of my basic tips on how you can nail a good action shot.
1. Find a good location before you start
Set yourself up in a good location before you start, and pay close attention to the time of day. A big open field in the early morning or late afternoon/evening will give you the least amount of harsh sunlight. For comparison, most of my photo sessions start 2 hours before sunset.
I set my subjects up at a distance from trees where sun may be shining through, and try to avoid aiming into the open sky so it is not blown out behind the dog.
2. Grab a friend to help
Unless you have an amazingly well trained dog, having a second or third set of hands will make it so much easier. Even with my dogs, who have a solid sit/stay, I prefer to have someone help me. See tip #5 for more details on how to get the dog to run in the right direction.
3. Beginner camera settings
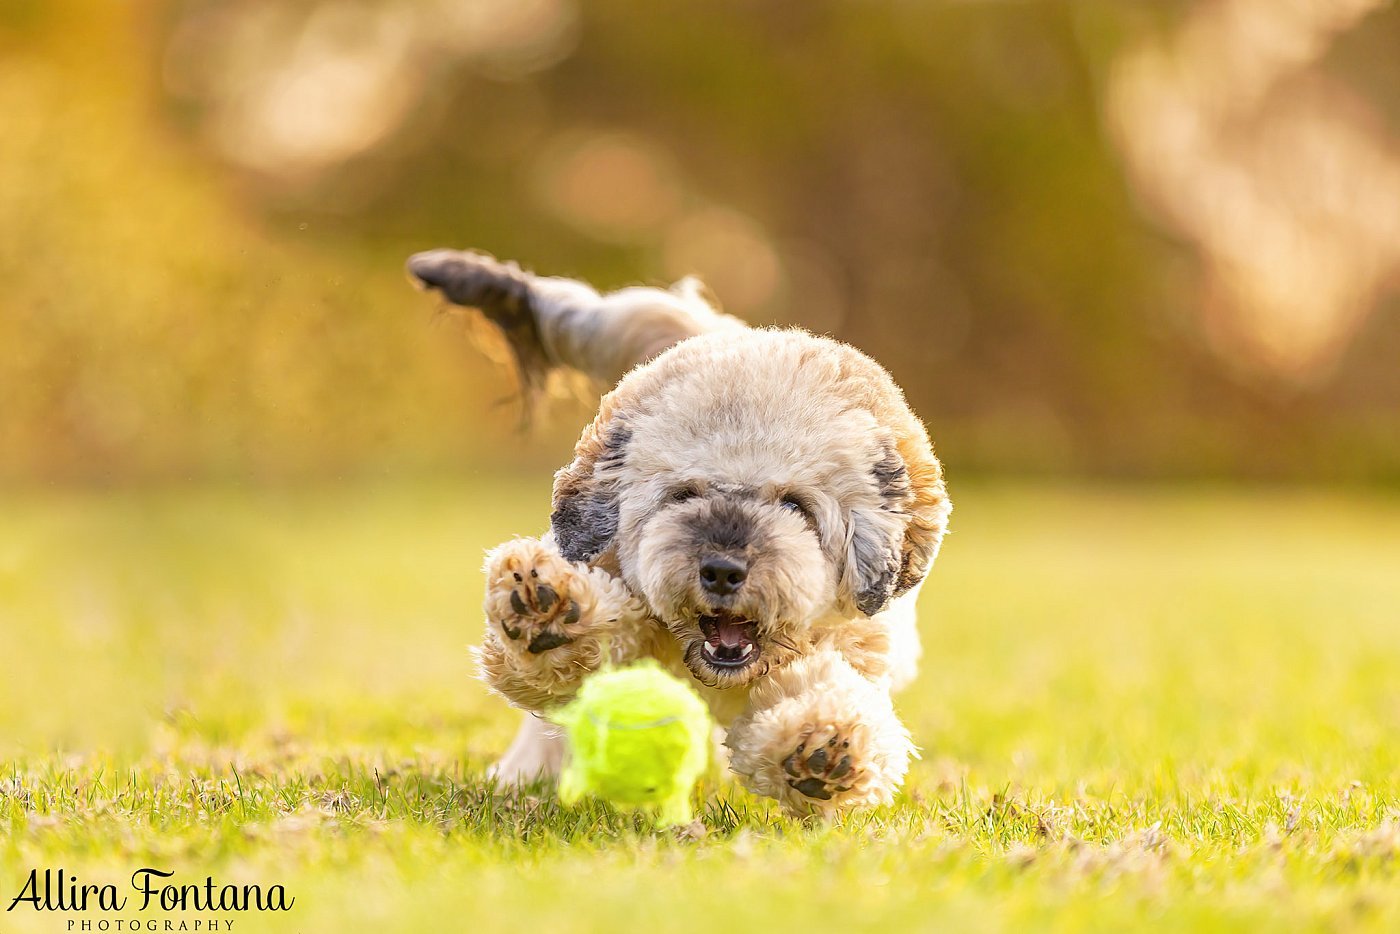
To get a sharp image with no motion blur, you want a high shutter speed. To help avoid confusion stick your camera on manual mode (don't freak out manual mode is not a scary dragon!), set the aperture to the lowest your camera will allow you to, shutter speed to at least 1/1600 (try and go higher if you have a lot of light available) and auto ISO. What this does is makes your camera have the blurriest background possible with your lens, keeps the shutter speed fast and let's your camera figure out how sensitive the sensor needs to be to light.
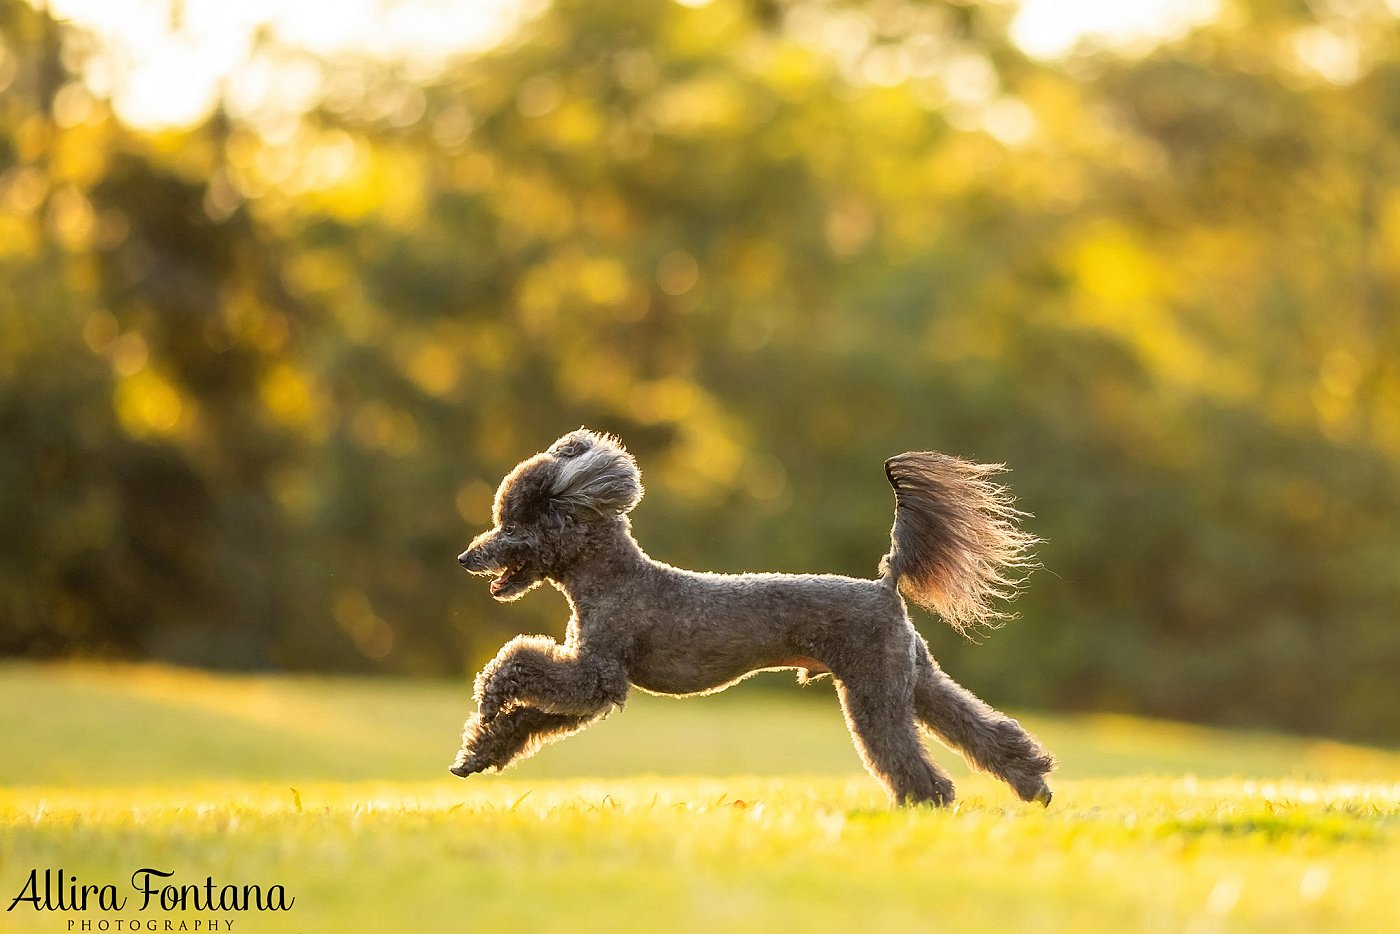
4. Get down low
When I say this, I mean it. Get on your belly, right on the ground. This will make the dog stand out and not blend into the grass. If you have a camera with a flip screen, you can then just get the camera down low, but I am old school and I like to see down the viewfinder at what I am capturing. Hence why I wear black clothes at sessions, because I get dirty!
5. How to make a dog run where you want it to
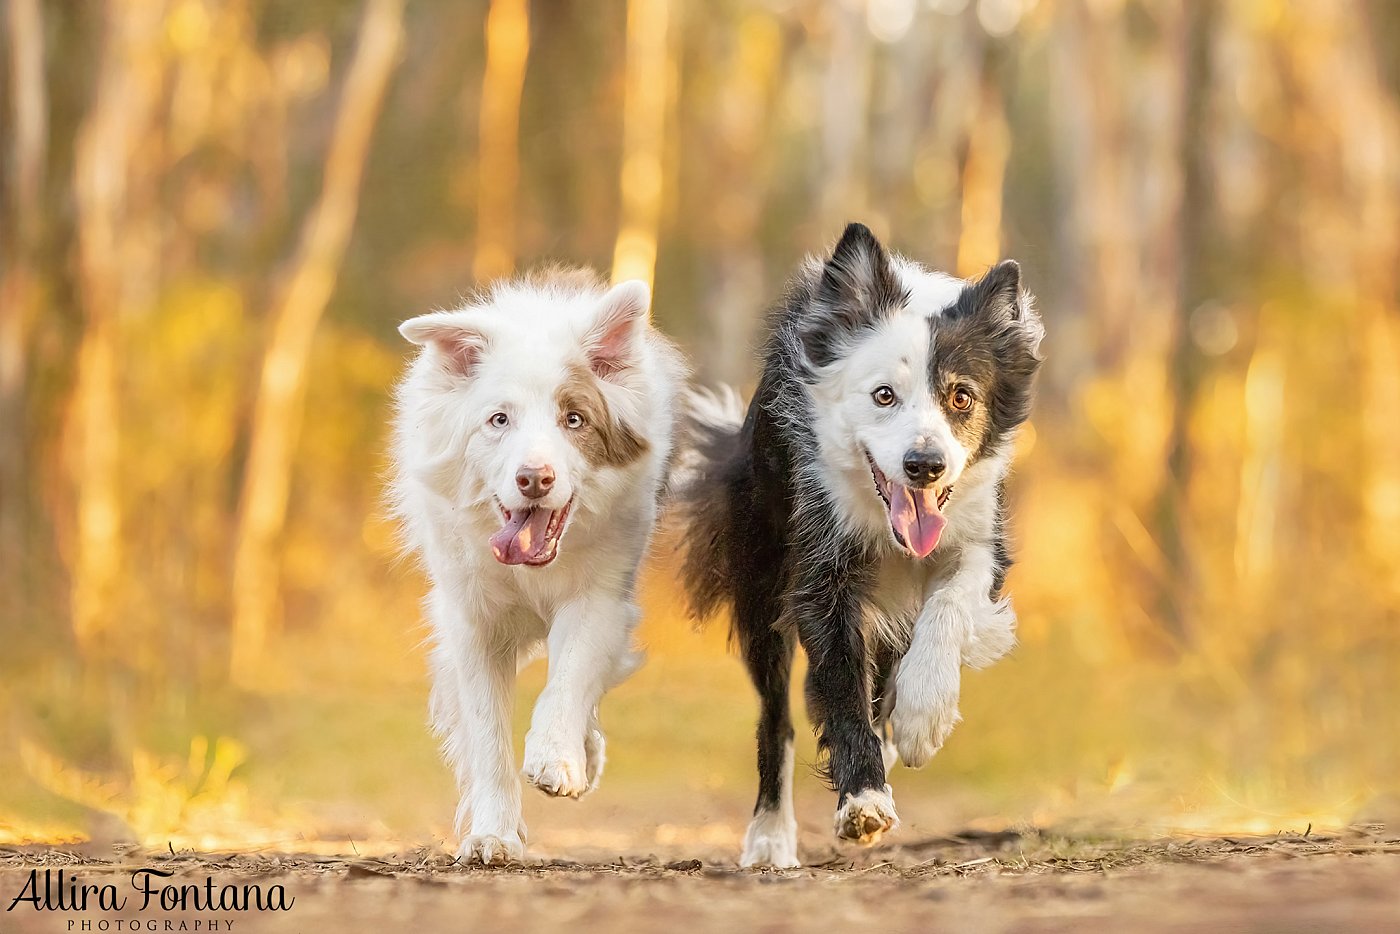
There are a few different types of action shots you can do. Dog running at the camera, dog running on a slight angle and dog running side on to you. You can even do a dog jumping straight at you!
This is where a second set of hands will come in handy, someone who can throw a ball, call a dog and position them where needed.
- Dog running/jumping straight at you: get the dog to sit and stay a distance away from you. If they have a solid stay, the owner/helper then calls the dog once they are standing directly behind you. Most times the dog will run straight at you, sometimes they will run to the side a bit but that's fine.
- Dog running at an angle: just like the above step, but now the owner/helper is standing to one side of you when recalling the dog.
- Dug running side on to you: have the owner/helper position the dog at a distance but instead of sitting right in front they are now to the side quite a lot. The owner/handler then runs across the field and recalls the dog, so it runs right across you.
6. Practise, practise, practise!
Here is the biggest secret of all, not all action shots turn out perfect. I know, what a shock! Even when I do action images with a client I get the dog to run 5-6 times in one direction to get a series of photos. I may focus on action images for 10 minutes, and end up with 5-10 images I will keep. Do not be disheartened if you miss focus or bin a lot of photos, because I do to. All you need is a few key shots, not 30-40 running dog photos.
There is a lot of practise involved with action shots too. You need to track the dog as they run, no matter the direction. It is a lot of trial and error, but so worth it.
7. Have fun!
And of course, as I always say, have fun with it! If the dog is ball obsessed, use that. Find out different angles and lighting conditions, use props or logs, and just have fun.
I hope these tips helped! If you have any questions pop them in the comments below.


Leave A Comment
Comments